As a sales engagement and lead management platform, ClickPoint provides the necessary tools–Workflows, Pipelines, Opportunities, Actions, Calls, Nurture–to respond to leads faster, run personalized lead nurturing programs, and win more deals. With ClickPoint you can find the right balance by prioritizing leads and responding to leads faster.
Once you’ve logged in to ClickPoint, click My Leads – all Lead/Record Types will be view-able, from the Menu select the one needed, then choose the Status/Bucket needed.
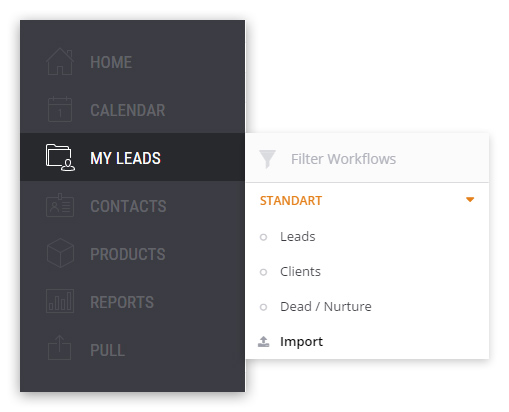 Image 1.1. My Leads
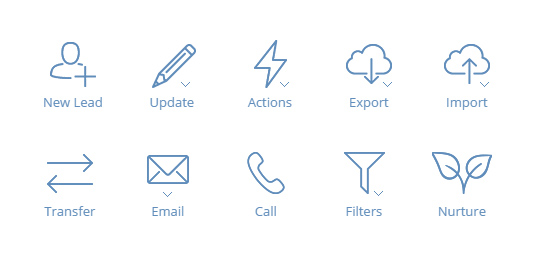 Image 1.2. My Leads Main Icon Options
- Displays all Lead/Record Types
- Displays all Workflows (Leads, Prospects, etc.) also known as Buckets.
- Search bar – type and hit Enter. This will search leads with matching value of any lead field.
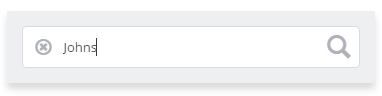 Image 1.3. Search line
- Date Range Filter – choose dates from the calendar to filter leads by date range.
 Image 1.4
- Lead Options – Pencil Icon, this displays a drop-down menu for Add Appointment, Call, Add Notes, View Notes Edit Pipeline and Return.
- Action a Lead – Bolt icon, displays all actions for disposition of the Lead.
- View Lead – Eyeball Icon, opens lead to view the Lead details
- Check Mark Box – select the Lead, this will highlight more options available in the tool bar once marked.
- Columns – Click on each column for quick sorting. For example, Date Received will sort by date the Lead was received.
- New Lead – select New Lead icon to add a new Lead.
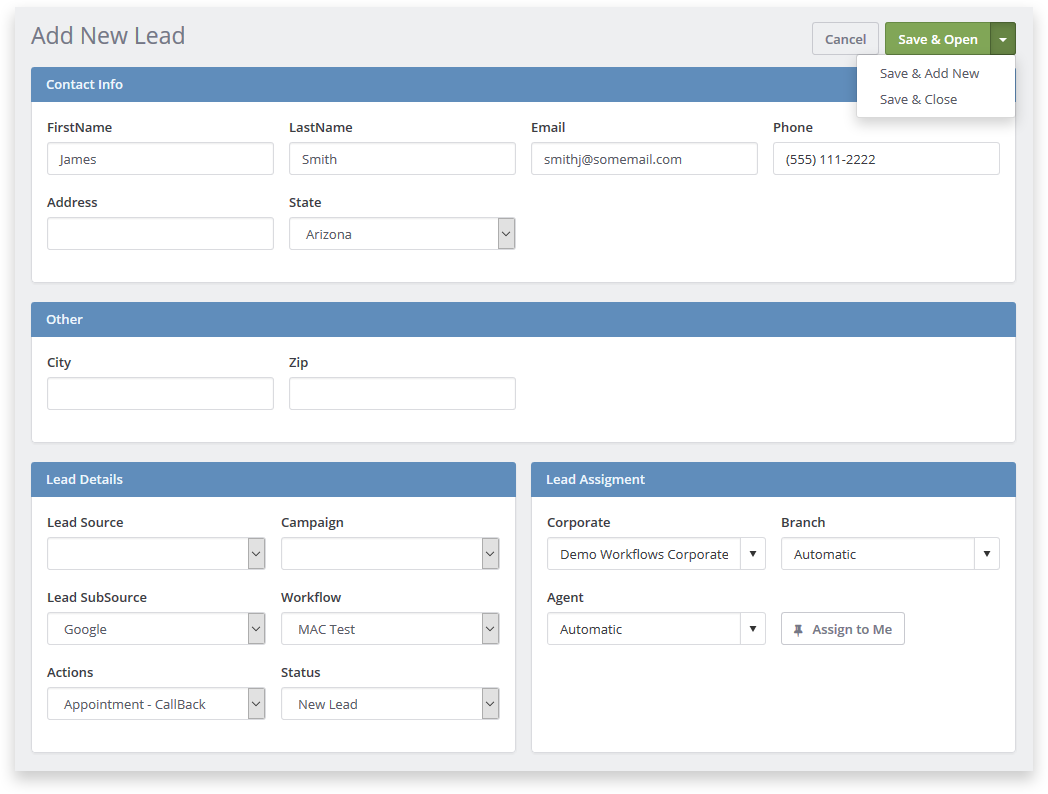 Image 1.5 Add a Lead
- Update – once a Lead is selected or check marked, the Update icon will appear in blue; click Update, a drop-down menu will be available to Add Notes, Add Appointment, Return or Edit Pipeline
- Actions – once a Lead is selected or check marked, the Actions icon will appear in blue; click Actions, a drop-down menu will be available to select the required Action.
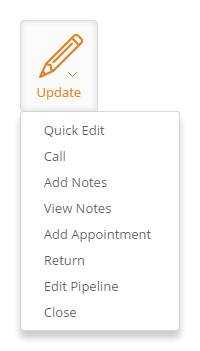 Image 1.6. Update Icon
- Action – displays all Actions available to disposition the Lead; move the Lead from one Action or Status through the Workflow.
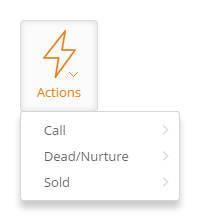 Image 1.7. Action Icon
- Export – select to export Leads to add to a file. Select All Records or only a few.
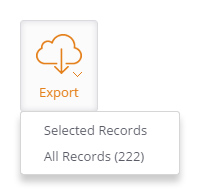 Image 1.8. Export Tool
- Import – select to Import Leads via a file such as Excel (.xlsx). This will direct you to Import Utility Tool once selected.
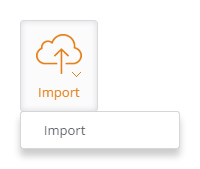 Image 1.9. Import Tool
- Transfer – once a Lead is selected or check marked, the Transfer icon will appear in blue; click Transfer, a pop up box will be available to select the transfer destination. Transfer Appointments toggle is defaulted to No, it is important when transferring a Lead with Appointments to switch the toggle to Yes, so the Appointments for this Lead Transfer with the Lead details.
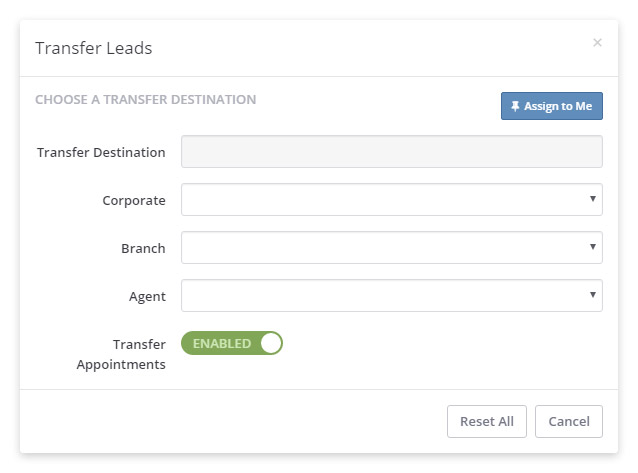 Image 1.10. Transfer Tool
- Email – once a Lead is selected or check marked, the Email icon will appear in blue; click Email, a drop-down menu will be available to select Compose (free type a personal email) or Use Template (select a template that has already been created).
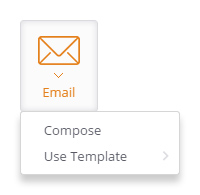 Image 1.11. Email Tool
- Call – click Call after selecting a Lead to place a Call to that Lead, please note you must have Phone Integration for this.
 Image 1.12. My Account – Phone Settings
- Filters – select and a drop down menu will appear:
- Allow Do Not Email
- Create Filters – Click Add Filter – Select Parameter, Operator and Value, then click Add Filter button.
- Next use Save My Filter As by naming the filter created, then click Apply Filters button.
- Manage Filters Order – Drag and drop capability to order the filters, once achieved click Save Filter Order.
- Quick Filters – Displays all filters for ease of use.
- Allow Do Not Phone
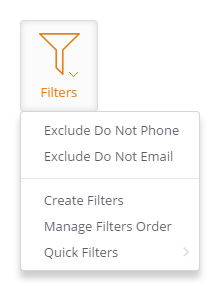 Image 1.13. Filters
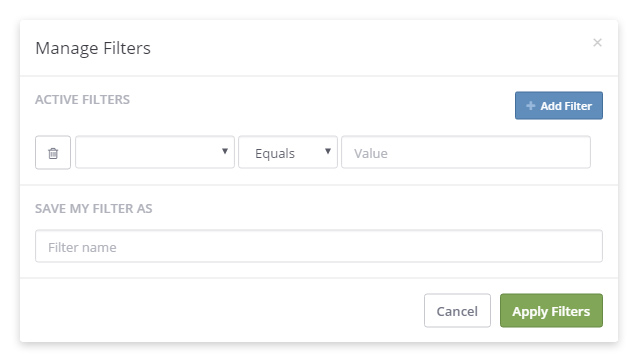 Image 1.14. Create Filter
- Nurture – once a Lead is selected or check marked the Nurture icon will appear in blue if you have permissions for Nurture and/or Nurture is created and enabled, click Nurture.